You know I love numbers and letters. I just love the look of vintage zinc letters, but of course don’t like the price. Or waiting to find the perfect font or the perfect combination of letters to create the word I want.
So I decided to make my own. Let’s go faux!
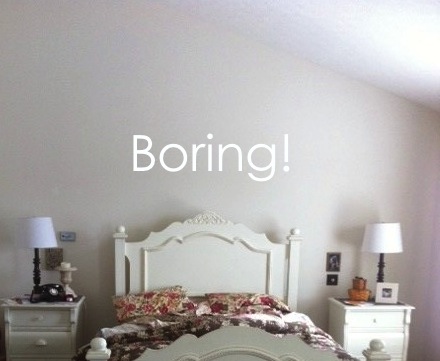
My bedroom has a giant vaulted ceiling behind my bed that acts as the focal point in the room. Sort of. Not much to focus on. In fact, it’s…
Please ignore the unmade bed. This pic is originally from a post about messiness.
I decided to come up with a word appropriate for the bedroom. So what are you supposed to do in a bedroom? Um, no, not that. Geez. Get your mind out of the gutter. The other thing. Yes, that’s right. Sleep. Catch some Zs. Rest. Slumber.
Slumber…a calming word. Perfect and peaceful.
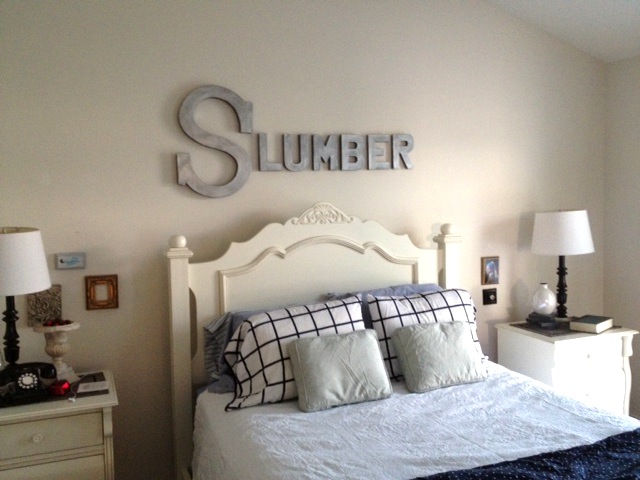
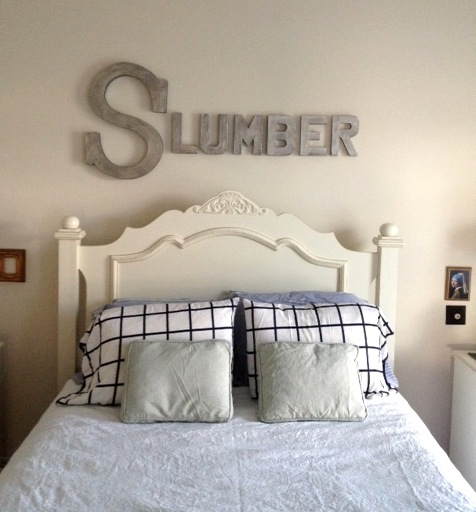
What do you think? Doesn’t it look awesome? I just love it!
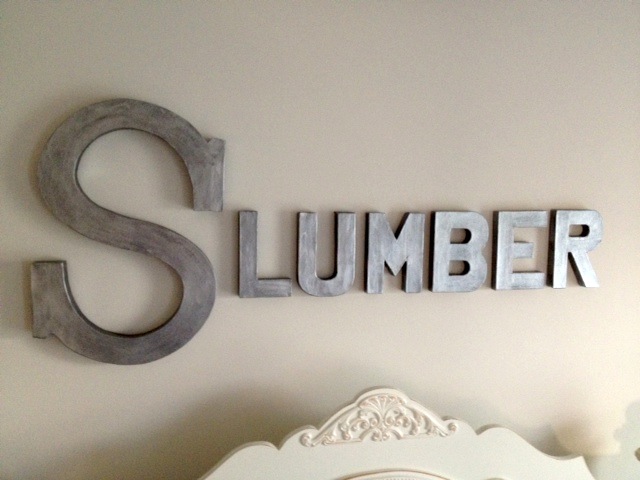
The letters look perfectly metallic!
Can you believe that they’re just paper-mache letters that you can get from Michael’s or Joann for a couple of bucks a pop? To be honest, this project, like most others, has cured for a couple of months, so the receipt has escaped me. But rest assured that I used a 50% off coupon and/or got these letters on sale. So including paint, definitely less than $25 spent for an awesome wall hanging that has now turned my bedroom wall into a focal wall!
Here’s how I did it.
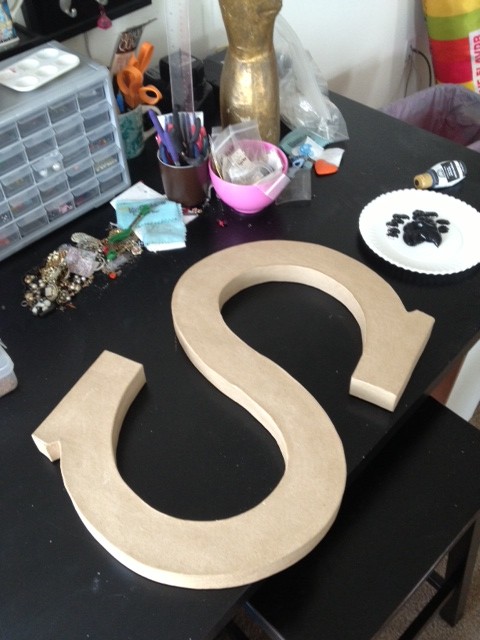
Cleared off only enough of my craft table to fit this project, because that’s just how I roll. Perhaps you might enjoy having a fully cleared craft area, but that’s your call.
Took some paper-mache letters…
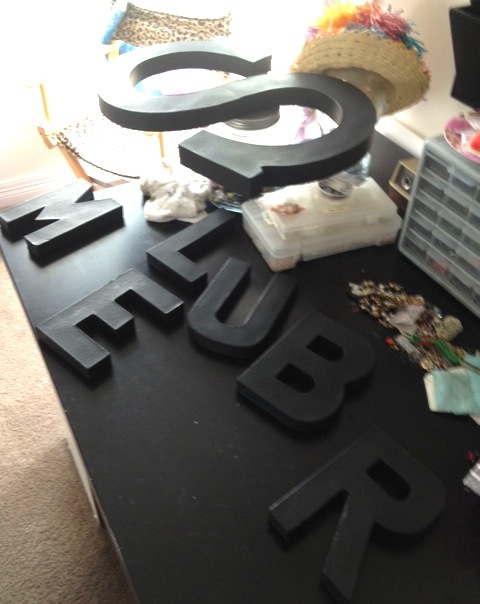
Painted a base coat using black craft paint…
Let them dry. Took a nap. Seriously. This project is perfect for a lazy Saturday afternoon.
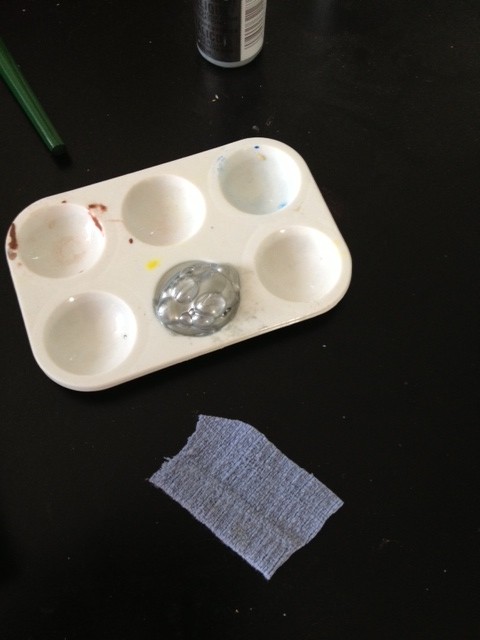
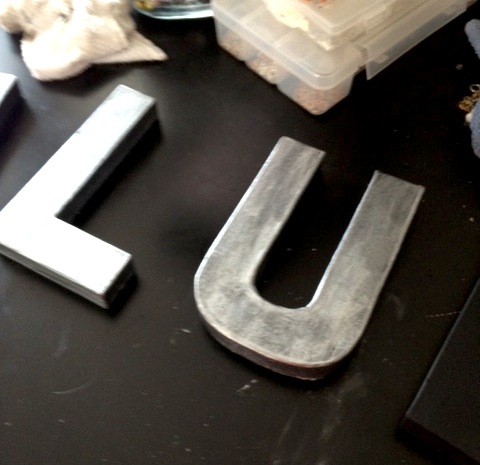
Using a small piece of a rag, did a dry rub of a silver metallic paint over the black paint, being sure to smooth and buff out any visible lines in the paint. When the rag got too saturated with paint, I cut and used a fresh piece of rag.
Rubbing on the paint…
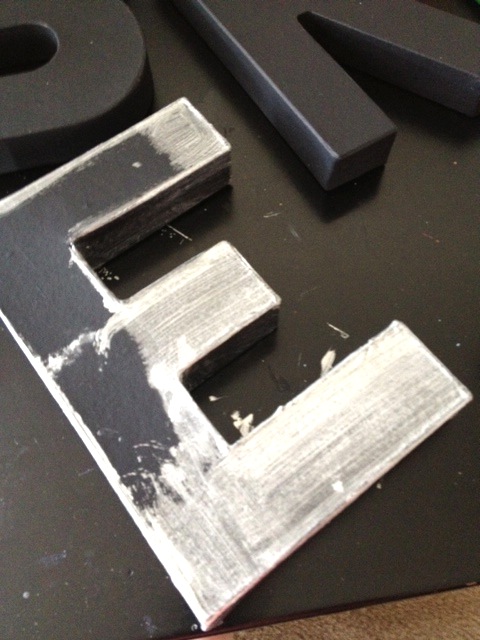
How the letters looked after one coat of silver metallic paint…
One coat wasn’t quite enough because there was still too much black showing through and the paint still had lines and looked “painted.”
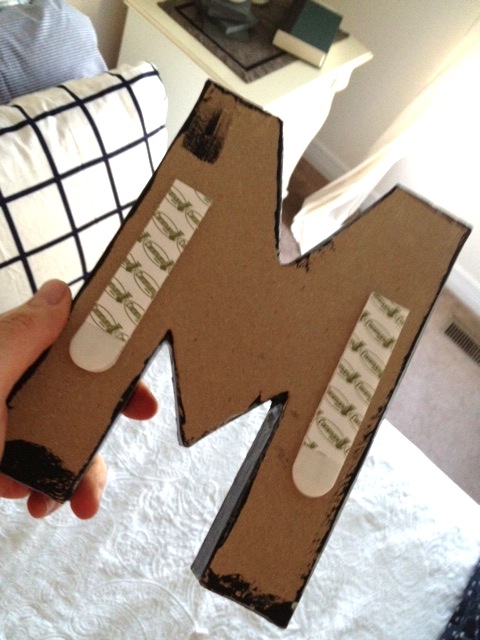
Took another nap while the second coat dried. When it was completely dry, I used 3M velcro picture hanging strips to adhere the letters to the wall.
Yes, in fact, I was standing on my bed when I took this photo, precariously balanced as I hung the letters!
As for placement on the wall, I just eyeballed it. I’m just kind of cool that way. I also like to hang and rehang things due to the eyeball method, but this one turned out pretty well. One time was all I needed. But you could go all out and take some measurements if you want to just be accurate and do things once.
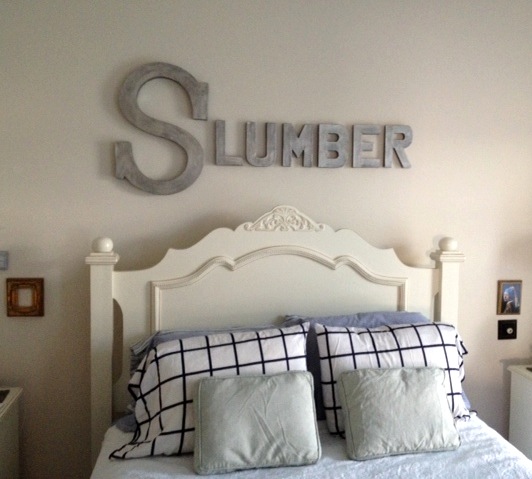
I love how the drop cap “S” sits down in the crook of the headboard a bit…
Overall, a successful project, wouldn’t you say?

Leave a Reply