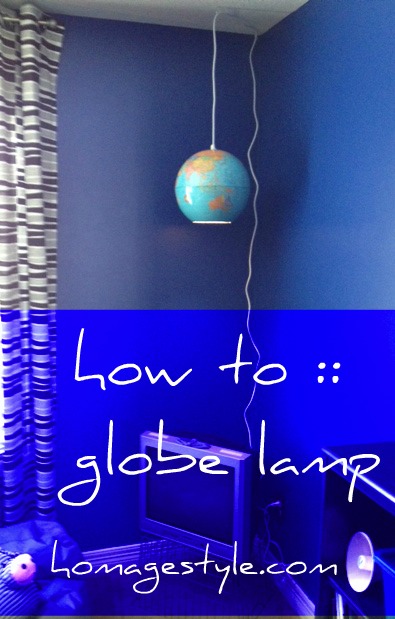
So on my recent design vacation, I redid my son’s room, going from vintage cowboy room to angsty teen boy’s room. In that redo, I created a hanging globe lamp for his room.
Here’s how I made it…
First, my sister the school teacher gifted me with a globe. Not just any globe. But a globe with no globe stand. Originally I had other plans for the globe, which included the need for a globe stand. So I texted her asking if what happened to the globe stand. Her response:
Gone gone gone.
Um hello? What did that mean? So when I inquired further via text, I got the same response.
Gone gone gone.
I never did get the full story of the globe stand, but decided that it is what it is and moved on to another project idea. The hanging globe lamp.
I already had a hanging light kit in my basement. Doesn’t everyone? Hmmm…maybe not. If you don’t have one lying around your basement curing for a project, you can get one for around $10 at Pier 1 Imports or World Market. Or the trusty internets.
Anyway, most cheap globes are made of cardboard, so you can use an exacto knife to score and cut through them.
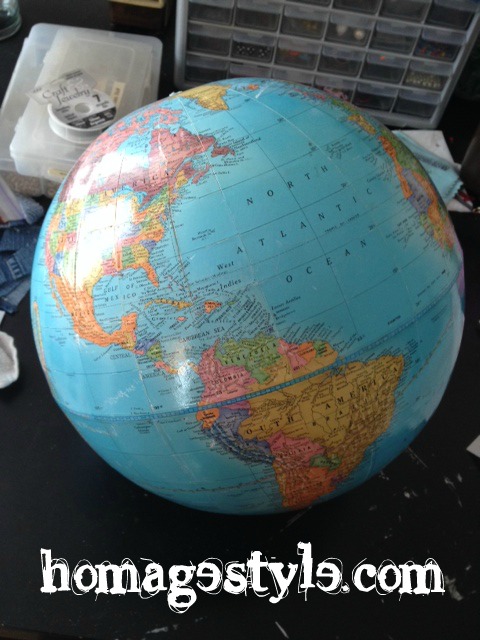
So, I took my globe…
…and placed it on my trusty, overcrowded craft table.
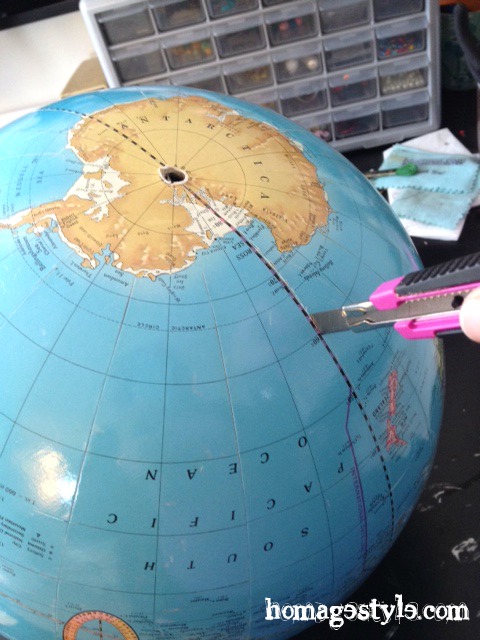
First I cut the bottom opening by cutting from the hole in Antarctica where the missing globe stand once was along the International Date Line to what I think is the 60th south parallel, but I never was that good at geography…
…then scoring and cutting along the conveniently marked 60th south parallel, completely eliminating Antarctica from the globe. I mean, what the hell, the polar ice caps are melting anyway, so who needs Antarctica?
The opening in the bottom of the earth…you know, that hole that you sometimes wish existed when you put your foot in your mouth…
Because the globe is cardboard (and very possibly because my exacto knife isn’t exactly the sharpest ever), the edges of the opening at the bottom of the earth were a little ragged, so I gently sanded it, but only on the inside, as I didn’t want to damage the outside of the globe.
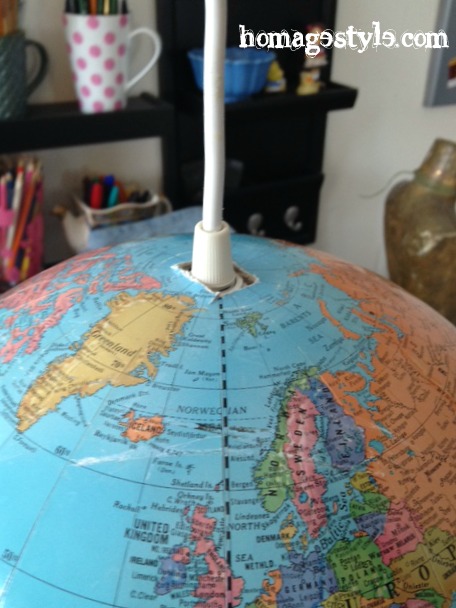
Then I worked on the opening for the light kit. I made a rough measurement to see how big of an opening I would need to fit the plug through…
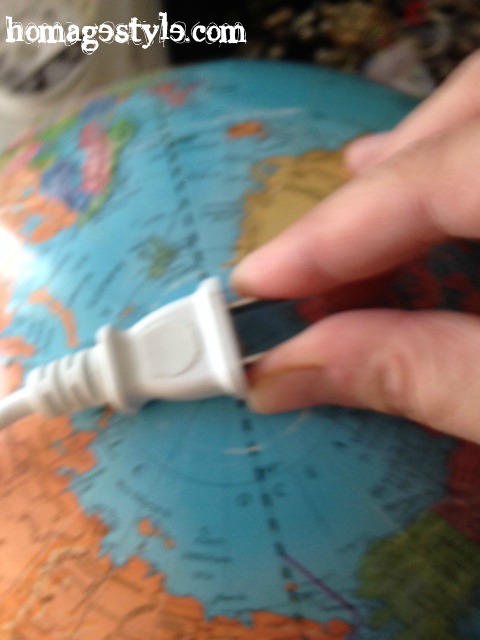 Please forgive the blurriness…I had the whole world in my hands, so it wasn’t easy taking a pic!
…and cut a small, rectangular opening, then fed the plug through the hole…
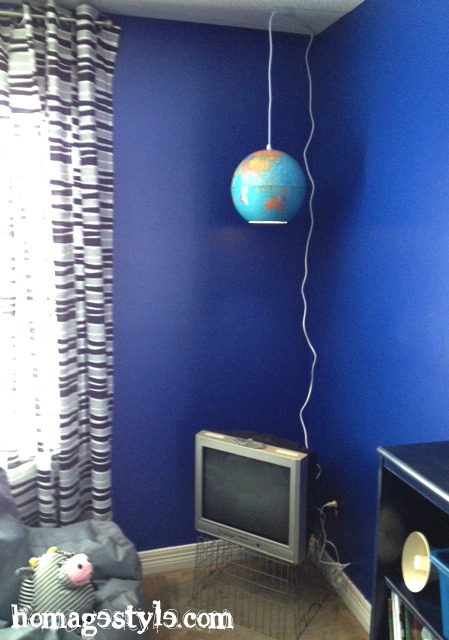
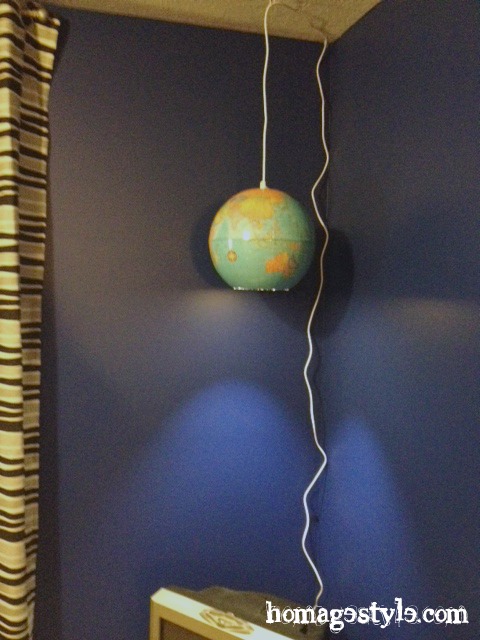
I already had cup hooks in the ceiling from the last hanging light fixture, so all I had to do was hang this awesome orb and voila…
A funky and fabulous new light fixture that the boy absolutely loves! It’s so…worldly!
Best part is that it cost me $0 since I had all of the materials at home already and only took about 30 minutes to complete from start to finish, which is my kind of project!
Showing this project off at Funky Junk Interiors.


Leave a Reply